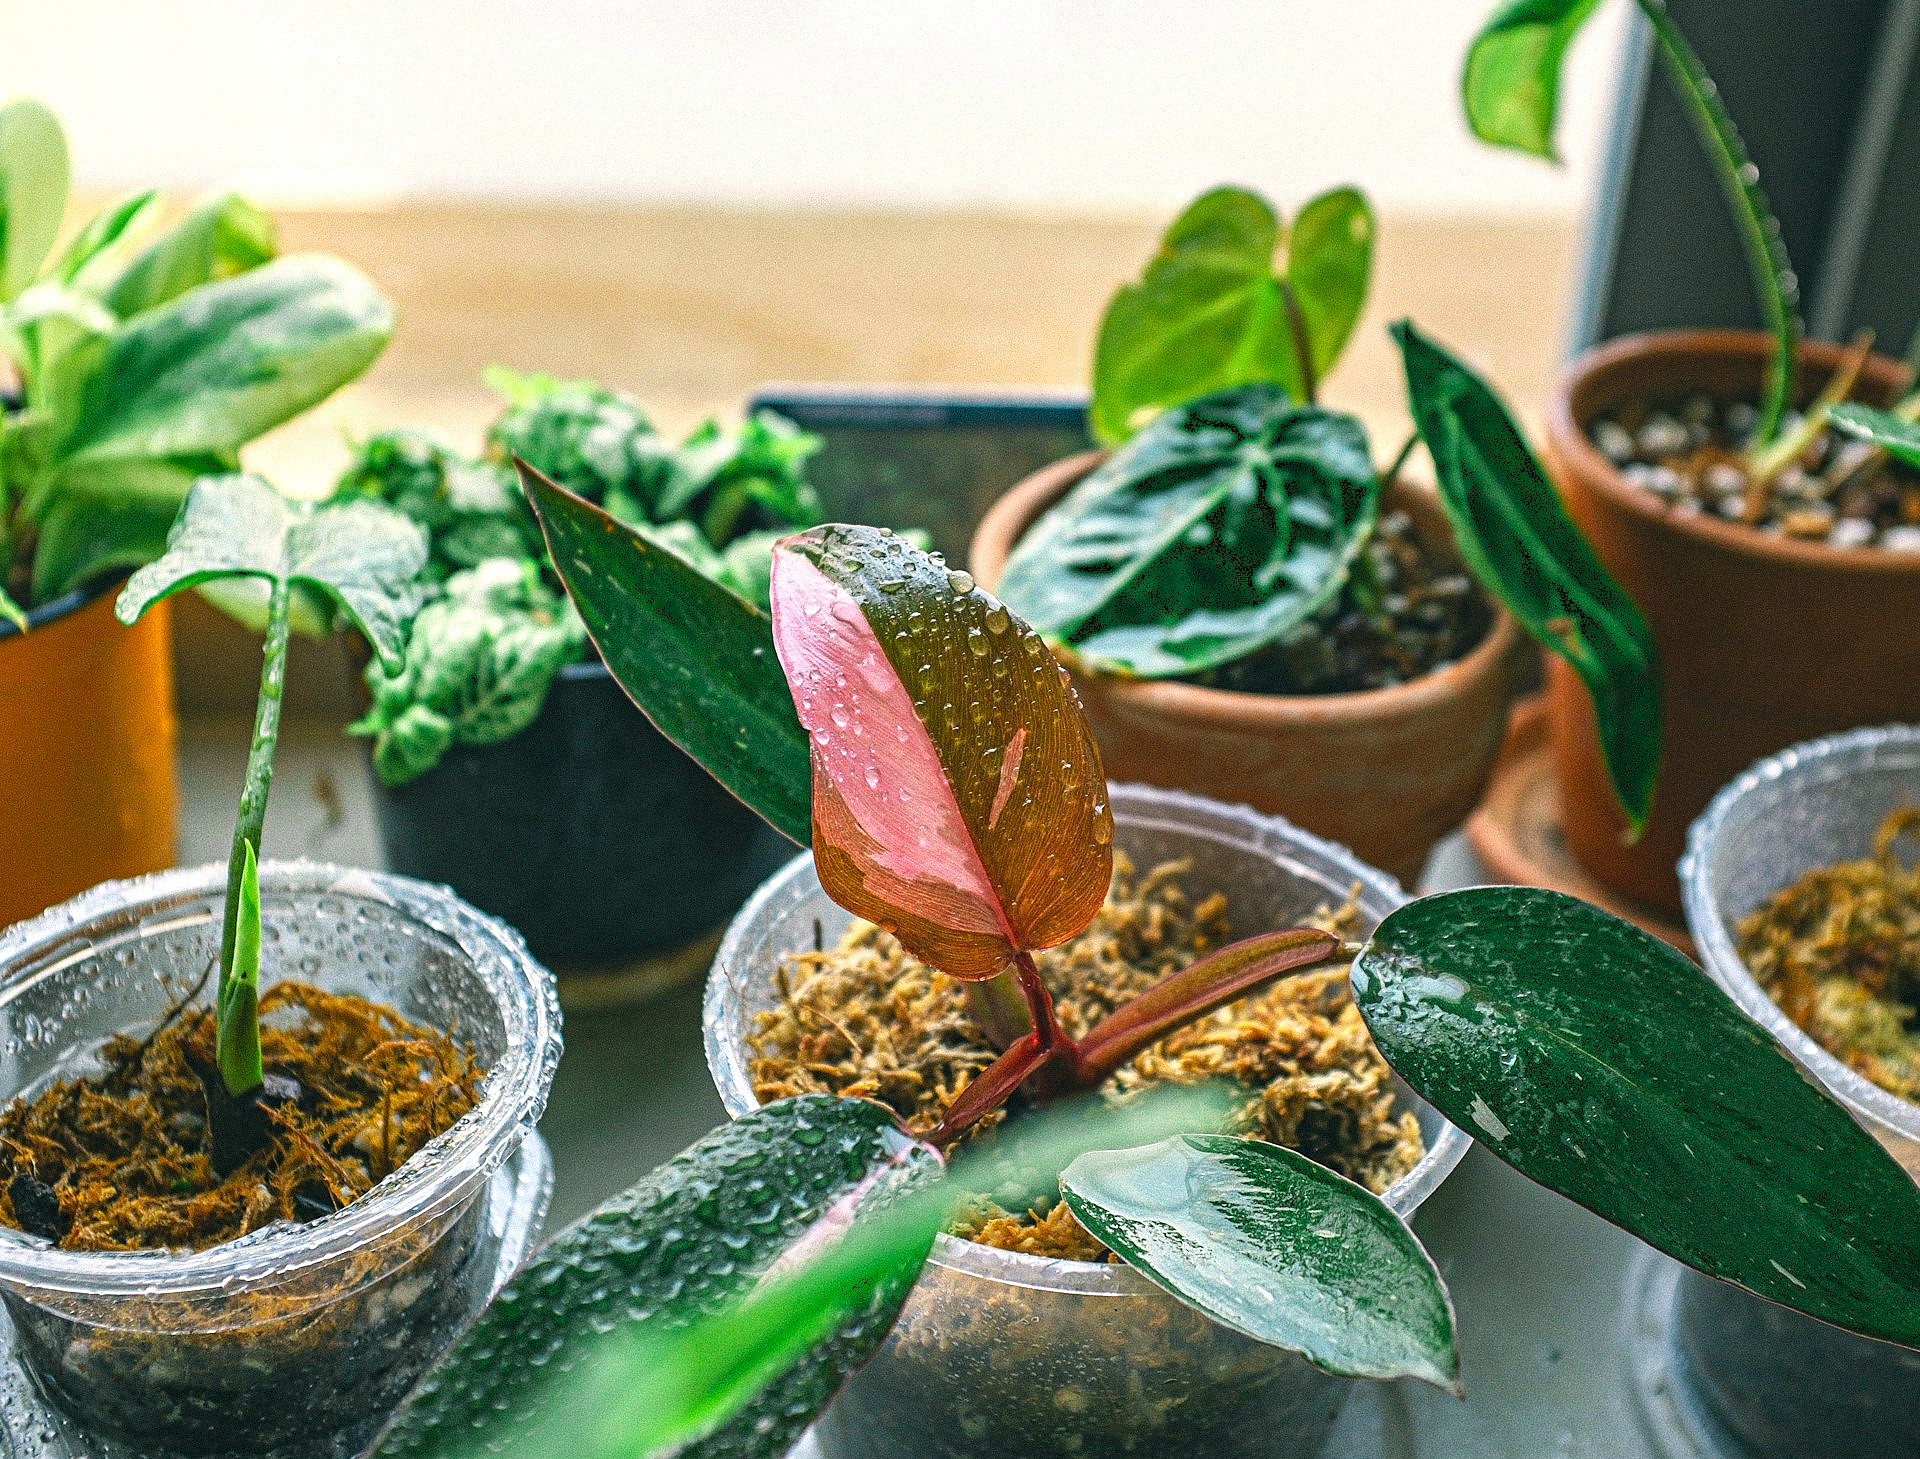
One of the most magical moments in a plant parent’s journey is realizing you can create new plants from the ones you already own. This process is called propagation, and it’s a simple, rewarding way to expand your collection, share plants with friends, or simply save a piece of a plant that isn’t doing well.
If you’re new to propagation, there is no better plant to start with than the Pothos (Epipremnum aureum). Known for its resilience and fast growth, the Pothos is incredibly easy to propagate in water. It’s almost foolproof!
Ready to turn one plant into many? Here is a simple, step-by-step guide to propagating your Pothos.
What You’ll Need:
- A healthy, mature Pothos plant with some long vines.
- A clean, sharp pair of scissors or pruning shears.
- A small glass jar, vase, or bottle.
- Clean water.
Step 1: Identify and Take Your Cutting
The key to successful propagation is taking a healthy cutting from the “mother plant.” Look for a long, healthy vine with several leaves.
Now, look closely at the vine. You will see small, brown bumps or nubs where the leaf meets the stem. These are nodes. A node is where new roots will grow from, so it is essential that your cutting includes at least one.
How to make the cut:
- Choose a section of the vine and locate a node.
- Using your clean scissors, make a cut about a quarter-inch below a node.
- Your ideal cutting should have between 2 to 4 leaves and at least one node. You can take several cuttings from a single long vine.
Step 2: Prepare the Cutting
Once you have your cutting, you need to prepare it for its new life in water. If your cutting has a leaf growing right at the bottom-most node (the one that will be submerged), you should gently remove it.
Simply pinch it off or snip it with your scissors. This is important because any leaves left sitting underwater will rot, which can spoil the water and harm your cutting. You want only the bare stem and the node to be in the water.
Step 3: Place the Cutting in Water
This step is the easiest of all. Take your prepared cutting and place it in your glass jar or vase. Fill the jar with clean, room-temperature water, making sure that at least one node is fully submerged. The remaining leaves should be above the water level.
Place your jar in a spot that receives bright, indirect light. A sunny windowsill might be too intense, but a spot on a bright counter or shelf is perfect.
Step 4: Wait and Watch for Roots
Now comes the fun part: waiting!
You should start to see small, white roots emerging from the node within one to three weeks. It’s a fascinating process to watch.
Important Maintenance:
- Change the water every few days (or at least once a week). This keeps the water fresh, provides oxygen, and prevents any bacterial growth. Simply tip out the old water and add fresh water.
Step 5: Potting Your New Plant
Once the new roots are about one to two inches long, your cutting is ready to be planted in soil. While you can technically leave it in water for a long time, it will get more nutrients and grow much stronger in a pot.
- Choose a small pot with drainage holes.
- Fill it with fresh, all-purpose potting mix.
- Make a small hole in the center of the soil and gently place your rooted cutting inside.
- Pat the soil down around the roots to secure it.
- Water it thoroughly and place it back in a spot with bright, indirect light.
For the first couple of weeks, keep the soil consistently moist (but not soggy) to help the water-grown roots acclimate to the soil. After that, you can care for it just like you do your original Pothos plant.
That’s it! You’ve successfully created a brand new plant. It’s a simple, sustainable, and deeply satisfying way to engage with your green friends.